
Table of Contents
- Understanding the Kombucha Brewing Process for Beginners
- Essential Features to Look for in a Kombucha Maker
- Top Kombucha Makers for Every Budget and Skill Level
- Tips and Tricks for Perfecting Your Homemade Kombucha
- Troubleshooting Common Kombucha Brewing Issues
- Q&A
- Final Thoughts
Understanding the Kombucha Brewing Process for Beginners
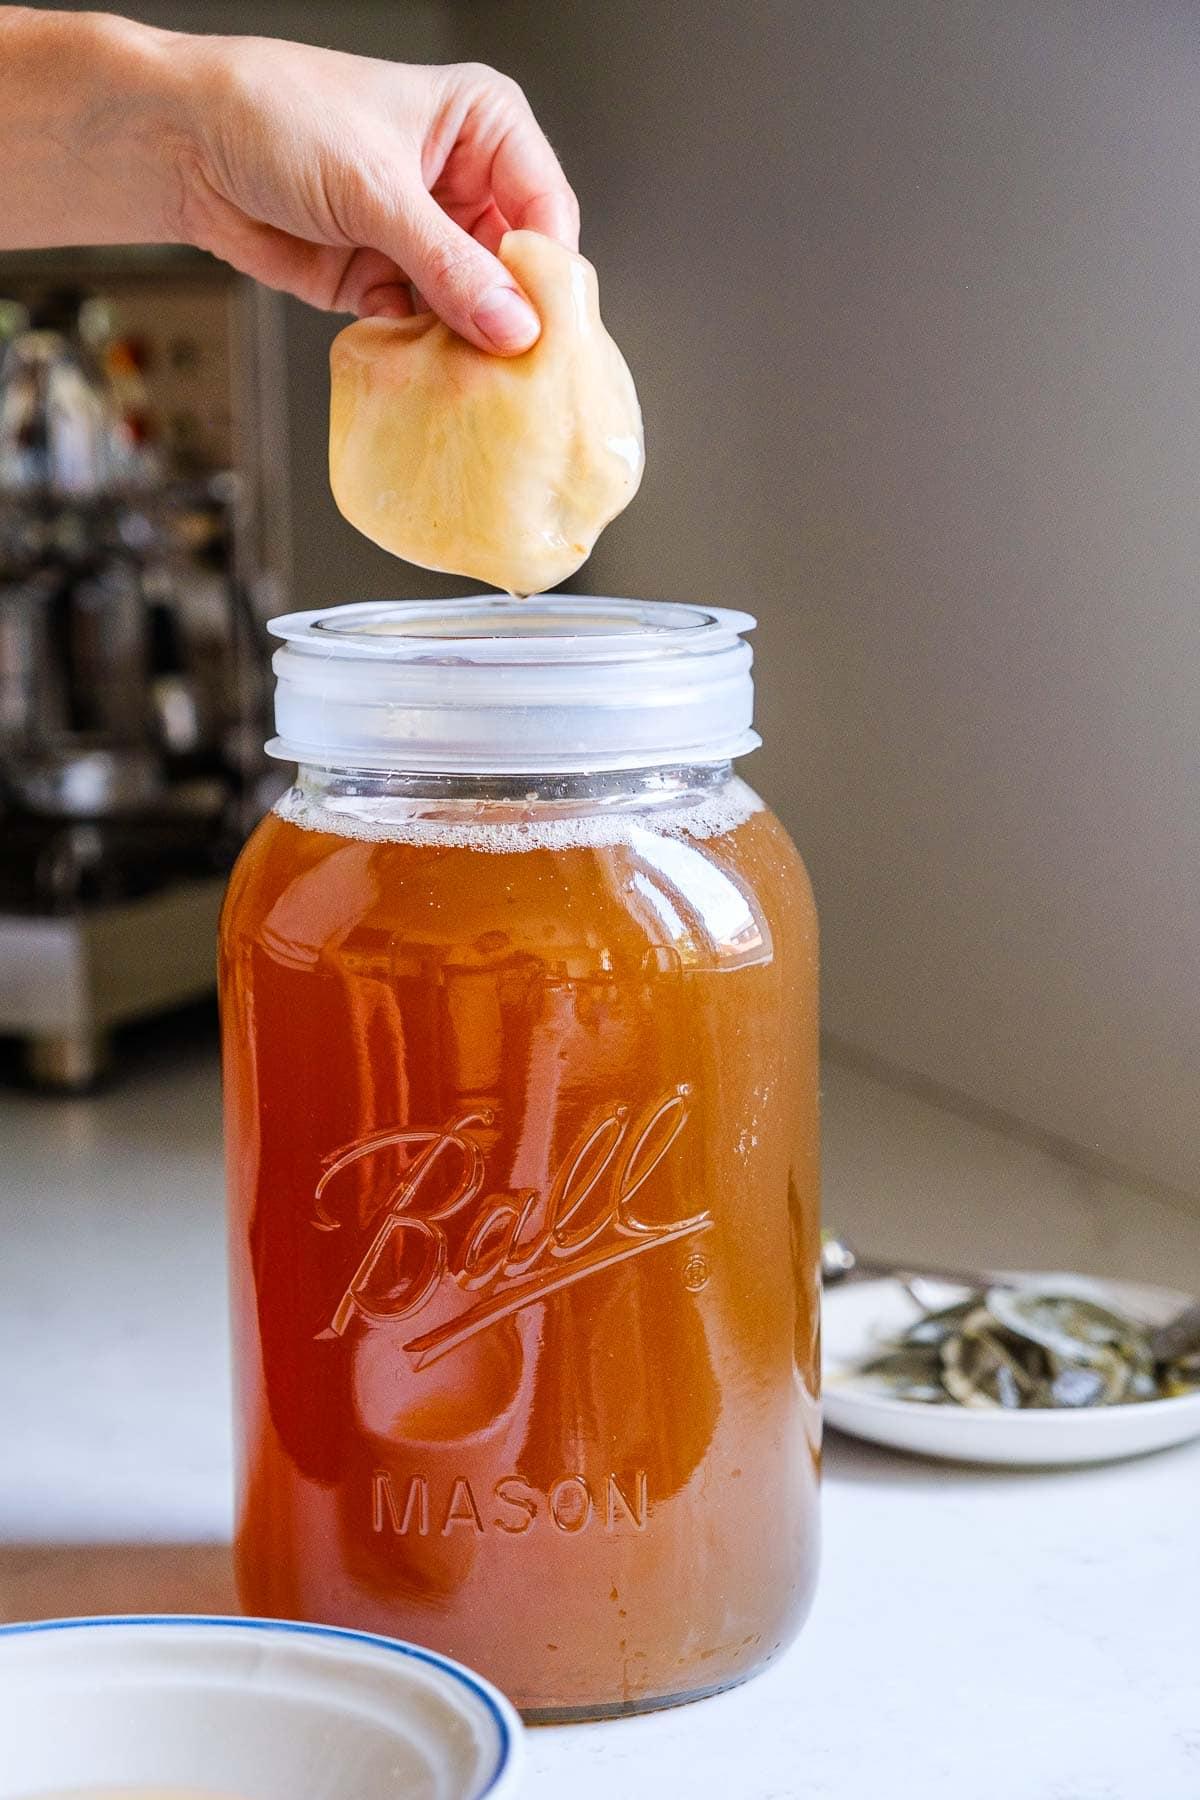
Kombucha brewing is a fascinating journey into the world of fermented tea, and understanding this process is key for any aspiring kombucha maker. The foundation of kombucha is sweetened tea, which provides the necessary sugars for fermentation. The process starts with boiling water and adding your choice of tea—typically black or green tea—followed by sugar. Once the tea has cooled to room temperature, the next crucial step is introducing the SCOBY (Symbiotic Culture of Bacteria and Yeast). This unique culture transforms the mixture into the tangy beverage we all love.
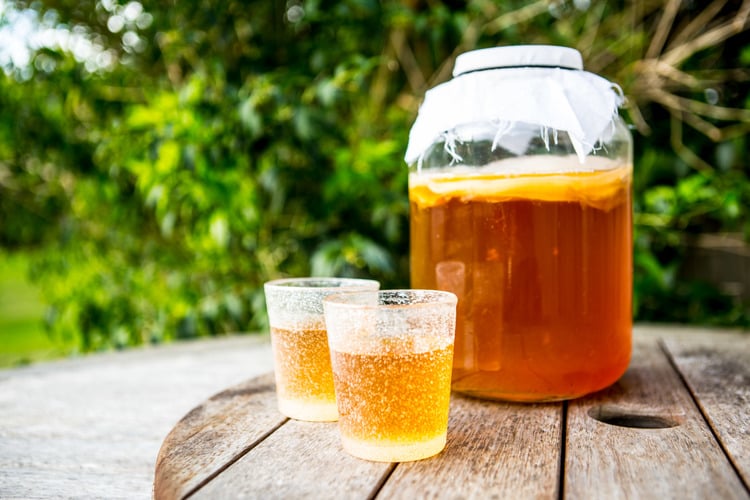
The fermentation process requires patience and the right environment to ensure the SCOBY thrives. Ideally, the sweetened tea should be placed in a glass container in a warm, dark place, away from direct sunlight. Over the next 7 to 14 days, the SCOBY will consume the sugar, producing organic acids, carbon dioxide, and a slight effervescence. It’s essential to taste your kombucha periodically to determine when it reaches your preferred level of tartness. If you desire a sweeter beverage, a shorter fermentation time is ideal; for a more sour flavor, let it ferment longer.
During the final stages, flavoring your kombucha can add an exciting twist. Once you’ve reached the desired fermentation level, carefully remove the SCOBY and set it aside. You can strain in fruits, herbs, or spices to enhance the flavor before bottling. Fermenting your flavored kombucha for an additional 3 to 7 days in a sealed container will infuse the flavors even more, creating a refreshing drink that suits your taste. Below is a simple table summarizing the key ingredients and their roles in the brewing process:
| Ingredient | Role |
|---|---|
| SCOBY | Fermentation starter |
| Tea | Flavor base and nutrients |
| Sugar | Food for fermentation |
| Flavorings | Enhancements for taste |
Essential Features to Look for in a Kombucha Maker
Top Kombucha Makers for Every Budget and Skill Level
When it comes to brewing your own kombucha, selecting the right maker can greatly enhance your experience and the quality of your brew. Whether you’re a beginner or a seasoned pro, there are numerous options catering to various budgets and skill levels. For newcomers, simplicity is key; a basic starter kit, usually priced under $50, can be found from reputable brands such as Kombucha Brooklyn or Brew Masters. These kits often include all the essentials, such as a SCOBY, fermentation jar, and detailed instructions to guide you on your fermentation journey.
For those willing to invest a bit more, around $100 to $300, advanced options allow for greater customization and control over the brewing process. Models like the Kegco Kegerator or BrewDemon not only come with user-friendly features, such as temperature control and built-in tap systems, but they also boast larger brewing capacities. These setups enable you to experiment with different flavors and carbonation levels while ensuring a consistent result. With these systems, you’ll be able to craft kombucha that rivals your favorite store-bought brands.
At the higher end, premium kombucha makers offer extensive features for serious enthusiasts, typically starting around $400. Brands such as Kombucha Kulture and Getkombucha.com provide sophisticated brewing vessels equipped with precise fermentation controls and advanced features like programmable timers. These makers are perfect for those who want to take their brewing to the next level, allowing for a more tailored fermentation environment. Regardless of your budget or experience, there’s a kombucha maker that fits your needs and surpasses your expectations.

Tips and Tricks for Perfecting Your Homemade Kombucha
To achieve the perfect balance of sweetness and tang, pay attention to the fermentation time. Typically, a first ferment lasts between 7 to 14 days, but it varies based on temperature and personal taste preferences. Taste-testing your brew every few days is essential—use a clean spoon to avoid contamination. Look for a balance where the sweetness is mostly gone but the flavor hasn’t become too sour. Consider factors like room temperature, which ideally should be between 70°F and 85°F for optimal fermentation.
When it comes to flavoring your kombucha, creativity knows no bounds! Experiment with a variety of fruits, herbs, and spices during the second fermentation. Commonly used options include:
- Fresh ginger or ginger juice for a spicy kick
- Berries like strawberries or blueberries for a fruity sweetness
- Citrus peels, such as lemon or orange, for a zesty finish
- Herbs like mint or basil for a refreshing twist
Make sure to strain your additions before bottling to avoid sediment in your final product. Use airtight bottles for the second fermentation to build carbonation, and keep them at room temperature for 3 to 7 days before refrigerating.
proper sanitation cannot be overlooked. Before starting your kombucha journey, ensure all equipment is thoroughly cleaned and sanitized. Use food-grade hydrogen peroxide or a vinegar solution for cleaning, as harsh chemicals can linger and affect your brew’s taste. Remember to always:
- Wash your hands before handling the SCOBY
- Store your starter tea and SCOBY in glass jars to prevent contamination
- Cover your brewing vessel with a breathable cloth secured with a rubber band to keep out unwanted pests
By adhering to these essential practices, you’ll be well on your way to mastering the art of homemade kombucha.

Troubleshooting Common Kombucha Brewing Issues
Brewing kombucha can be a delightful adventure, but it’s not without its challenges. A common issue is the development of an off-putting taste, often attributed to over-fermentation. If your kombucha has turned overly sour, it’s a sign that it has fermented too long. The simplest solution is to reduce the fermentation duration with each batch. Keep a close eye on the bubbles and taste your brew daily as it approaches the end of the fermentation period for that perfect balance.
Another frequent concern is the formation of mold, which can be alarming. Mold usually appears as fuzzy spots on the surface, and it can develop if the brewing environment is not properly maintained. To combat this, ensure your brewing containers are thoroughly sanitized and that you’re using high-quality, fresh ingredients. A proper seal on your brewing vessel is vital to keep contaminants at bay, while a consistent room temperature can also foster healthy fermentation conditions.
Lastly, some brewers encounter issues with carbonation levels, resulting in either flat or overly fizzy kombucha. This can stem from insufficient secondary fermentation or incorrect bottling methods. To enhance carbonation, consider adding small amounts of organic fruit or sugar during the bottling phase. Alternatively, if your kombucha is too fizzy, check the temperature and duration of the secondary fermentation; cooler temperatures can help slow down yeast activity. Here’s a handy table to summarize these common issues and their solutions:
| Issue | Symptoms | Solutions |
|---|---|---|
| Over-Fermentation | Too sour, vinegar-like taste | Shorten fermentation time |
| Mold | Fuzzy spots on top | Maintain sanitation, seal properly |
| Carbonation Issues | Flat or overly fizzy | Adjust secondary fermentation temps |
Q&A
Q&A Section: All About Kombucha Makers
Q1: What is a kombucha maker, and how does it work?
Q2: Why should I invest in a kombucha maker instead of brewing it traditionally?
Q3: What features should I look for in a good kombucha maker?
- Size and Capacity: Choose one that fits your kitchen space and meets your brewing needs—whether you’re making small batches or larger quantities.
- Material: Look for food-grade materials that are durable and easy to clean, such as glass or stainless steel.
- Temperature Control: Some kombucha makers have integrated heating elements or temperature displays that help maintain consistent fermentation conditions.
- Ease of Use: A simple, intuitive design can make the brewing process much easier, especially if you’re just starting out.
- Accessories: Check if the maker includes tools like a spigot for easy pouring, jars for second fermentation, or filters for bottling.
Q4: Can I use any type of tea and sugar for brewing kombucha in a maker?
Q5: How often can I brew kombucha in my maker?
Q6: Are there any health benefits associated with drinking kombucha?
Q7: Is kombucha safe for everyone to drink?
Final Thoughts