
Table of Contents
- Benefits of Using a Kombucha Jar with Spigot
- Choosing the Right Size and Material for Your Kombucha Jar
- How to Properly Maintain and Clean Your Kombucha Jar
- Exploring Flavor Infusion Techniques with a Spigot Jar
- Troubleshooting Common Issues with Kombucha Brewing
- Q&A
- Key Takeaways
Benefits of Using a Kombucha Jar with Spigot
Utilizing a kombucha jar equipped with a spigot offers several advantages that enhance the brewing experience. One of the primary benefits is the ease of access it provides. With a spigot, you can effortlessly dispense your kombucha without having to lift or tip the jar. This is especially useful for larger batches, ensuring there’s less chance of spills and messes while serving. Just a simple twist of the handle allows you to fill your glass directly, making the whole process smoother and more convenient.
Moreover, a jar with a spigot facilitates controlled pouring, which can be particularly important for kombucha enthusiasts who want to manage the fermentation process carefully. With the ability to taste or check the brew at different stages, you can gauge its readiness without compromising the integrity of the fermentation environment. This feature allows for greater experimentation and customization in flavor, carbonation levels, and overall brew quality, empowering you to develop a more personalized kombucha recipe over time.
the aesthetic appeal of a kombucha jar featuring a spigot adds to its value. Many of these jars are designed with clear glass and elegant shapes, making them not just functional pieces, but also beautiful additions to your kitchen or dining area. When hosting gatherings, a stylish kombucha jar can serve as a conversation starter while guests enjoy the refreshing, fizzy beverage. To emphasize its charm, consider displaying fresh fruit or herbs directly in the jar, elevating both the presentation and flavor of your kombucha.
Choosing the Right Size and Material for Your Kombucha Jar
When selecting a kombucha jar, consider the size that best fits your brewing needs. If you’re new to brewing, a 1-gallon jar is an ideal starting point. It allows for some trial and error without committing to large quantities. For more experienced brewers, a 2-gallon or larger jar might be preferable, enabling you to experiment with flavors and yields. Always remember that a larger jar requires more maintenance and monitoring, so choose a size that aligns with both your brewing experience and consumption habits.
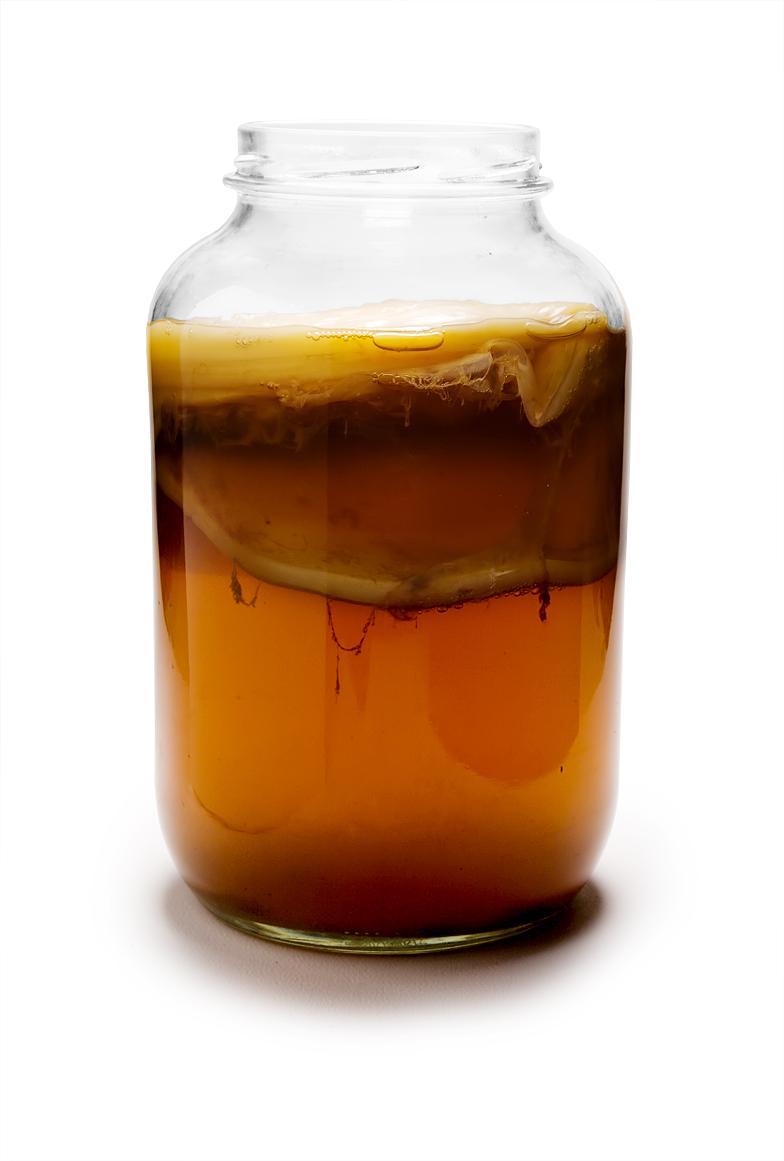
Equally important is the material of the jar. The most common options are glass and ceramic, each with its own benefits. Glass jars, especially those with a spigot, provide visibility into the brewing process, making it easier to monitor your kombucha. They also do not react with the acids present in kombucha, ensuring that the flavor profile remains intact. On the other hand, ceramic jars can be aesthetically pleasing and offer excellent insulation, but choose a variety that’s specifically designed for brewing and is food-safe.
When evaluating your options, pay attention to the following features:
- Spigot Quality: Ensure the spigot is made from durable materials and easy to clean to prevent contamination.
- Wide Mouth: A wider opening facilitates easier access for scooping out the kombucha and cleaning the jar.
- Capacity Markings: Consider jars with measurements marked on the side to gauge the volume of each brew.
How to Properly Maintain and Clean Your Kombucha Jar
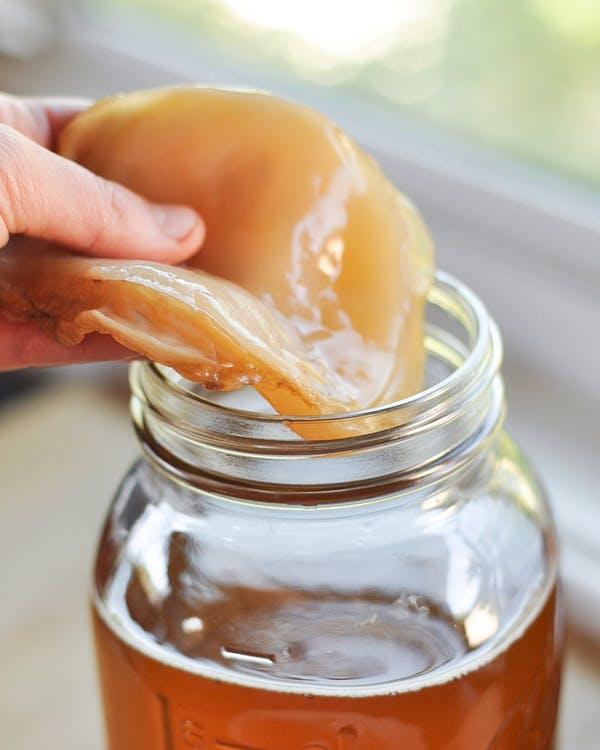
Maintaining your kombucha jar with a spigot requires a regular cleaning routine to ensure that your brew remains healthy and delicious. Start by removing the spigot and any accessories attached to it, as these areas can accumulate residue over time. Use warm, soapy water and a soft sponge to scrub the exterior and interior surfaces of the jar. Pay special attention to the rim and the spigot, as these are crucial to preventing microbial contamination. Rinse thoroughly with warm water to remove all soap residue, and allow it to air dry completely.
Occasionally, your kombucha jar may develop stubborn stains or residue. In such cases, a natural cleaning solution can be effective. Consider mixing equal parts of water and white vinegar, or use baking soda sprinkled inside the jar. Let this solution sit for about 10-15 minutes before scrubbing, as it will help to lift stains and ensure a thorough cleaning. After scrubbing, make sure to rinse well with clean water and dry the jar in a well-ventilated area. This will help maintain a bug-free and odor-free environment for your kombucha culture.
To keep your kombucha jar in optimal condition, it’s also beneficial to implement a maintenance schedule. This can include tasks such as checking the spigot for any blockages or leaks, and replacing it if necessary. Consider the following routine:
| Frequency | Task |
|---|---|
| Every brew | Clean the jar and spigot |
| Weekly | Inspect all components for wear |
| Monthly | Deep clean with vinegar solution |
By adhering to these practices, you’ll ensure that your kombucha jar remains in top shape, allowing you to enjoy countless batches of your favorite fermented tea.
Exploring Flavor Infusion Techniques with a Spigot Jar
Flavor infusion with a spigot jar opens up a world of creativity for your kombucha brewing journey. By introducing various ingredients during the second fermentation, you can customize your drink according to your taste preferences. Some popular options for flavoring include:
- Fruits: Fresh fruits like berries, mangoes, or citrus enhance sweetness and add a vibrant color.
- Herbs: Fresh herbs such as mint or basil can give your kombucha a refreshing twist.
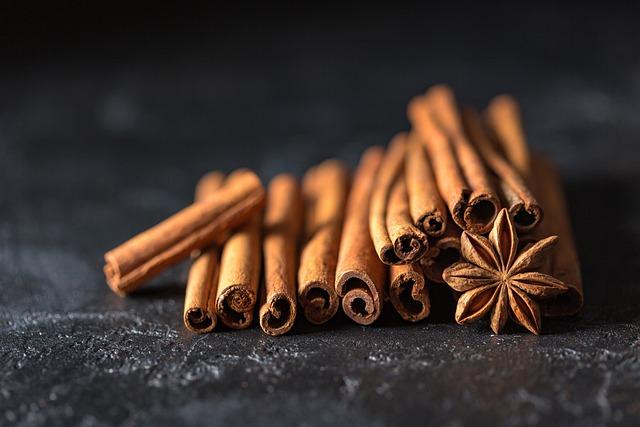
- Spices: Adding spices like ginger or cinnamon can bring warmth and complexity to your brew.
Using a spigot jar simplifies the bottling process once your kombucha has reached the desired flavor. With its convenient spigot design, you can easily dispense your beverage without disturbing the sediment at the bottom. This feature not only makes it easier to fill your bottles but also minimizes exposure to air, ensuring your kombucha stays as fresh as possible. When experimenting with flavors, consider these key points:
| Flavoring Agent | Infusion Time | Notes |
|---|---|---|
| Raspberries | 2-3 days | Bright, tart flavor |
| Mint Leaves | 1-2 days | Cool, refreshing notes |
| Ginger | 3-4 days | Spicy kick |
Additionally, experimenting with different brewing times can yield distinct flavor profiles. Each kombucha batch can vary, and a longer infusion usually results in a bolder taste, while shorter infusions maintain more of the kombucha’s original tanginess. The flexibility of pairing flavors means you can create a targeted flavor experience with each brewing cycle, providing endless opportunities for delicious variations.

Troubleshooting Common Issues with Kombucha Brewing
One of the most common issues brewers face is an imbalanced fermentation, often resulting in an overly sweet or unexpectedly sour kombucha. If your brew is not fermenting correctly, check your sugar levels, the temperature of the brew, and the health of your SCOBY. Ideal fermentation temperatures range between 75°F and 85°F (24°C to 29°C). If the temperature is too low, the fermentation process will slow down, leaving your drink too sweet; if it’s too high, it may ferment too quickly and turn sour. Additionally, ensure that you’re using the right amount of sugar—typically, about 1 cup per gallon of tea. Experiment with small batches until you find the perfect balance for your taste buds.
Another hurdle that can arise is the presence of unwanted molds on the surface of your kombucha. Molds usually appear as fuzzy spots and can occur if the SCOBY is exposed to oxygen or if the brewing environment is unclean. If you spot mold, it’s crucial to discard the entire batch and start fresh. To prevent mold from forming, keep your brewing area clean, make sure your jars are thoroughly sanitized, and cover your kombucha with a breathable cloth to allow for airflow while preventing dust or pests from getting in.
Sometimes, home brewers notice that their kombucha lacks fizz. The effervescence of your kombucha is largely dependent on the second fermentation process, where additional sugar is added to kickstart the carbonation. To enhance fizziness, consider the following tips:
- Use fresh fruit, juices, or ginger to provide extra sugars during bottling.
- Ensure your bottles are sealed tightly to trap carbon dioxide.
- Keep the bottles in a warm, dark place for 3 to 7 days post-bottling.
After the second fermentation, remember to refrigerate your kombucha to halt fermentation and preserve that delightful tanginess!
Q&A
Q&A: Kombucha Jar with Spigot
Q1: What is a kombucha jar with a spigot?
Q2: Why choose a jar with a spigot for brewing kombucha?
Q3: How do I clean and maintain my kombucha jar with a spigot?
Q4: Can I use a kombucha jar with a spigot for other drinks?
Q5: What size kombucha jar with a spigot should I get?
Q6: Do I need any special ingredients for brewing kombucha in a jar with a spigot?
Q7: How can I know when my kombucha is ready to drink?
Q8: Is it difficult to brew kombucha in a jar with a spigot?
Q9: Are there any safety concerns with using a kombucha jar with a spigot?
Conclusion
Key Takeaways